Slack is a communication platform and collaboration hub that’s designed to facilitate remote teams, but it can be useful in a wide variety of situations. If you’re ready to give it a spin, here’s how to use Slack, including a walkthrough of creating your first workspace, staffing up your team, all of the basic functionality of the app, and some advanced features as well.
How to Set up a Slack Workspace for Your Team
Slack can be used on a computer via your web browser of choice or through a mobile app, but the setup process is complicated enough that you may want to consider using a web browser. For the purposes of these instructions, we will show you exactly how to set up your first Slack workspace from scratch.
You don’t need a Slack account prior to setting up your first workspace, and you can set everything up and start using the service for free. Some functionality is locked behind a subscription, but you can choose whether or not the subscription is worth it after you’ve tried out the free version.
Here’s how to set up your first Slack workspace:
-
Navigate to slack.com, and select Get Started in the upper right corner of the page.
-
Select My team isn’t using Slack yet.
These instructions are for setting up a brand new Slack workspace. If you aren’t responsible for setting up Slack for your organization, click My team is on Slack to search for a workspace that was set up by one of your coworkers.
-
Enter your email, and select Confirm.
Use your business email, or the email you normally use to communicate with the people on your team.
-
Check your email for a confirmation code. When it arrives, enter the code.
-
Enter the name of your company or team, then select Next.
-
Enter the name of a project your team is currently working on, then select Next.
-
Enter the email addresses for each of the people on your team, then select Add Teammates.
You will be able to add more teammates later on if you don’t get everyone on this step.
-
Your Slack channel has been set up at this point. Select See Your Channel in Slack to start using it.
How to Assemble a Team in Slack
Once you have created your workspace, you still have a handful of tasks to complete before Slack sets you loose. You’ll need to finish assembling your team, create a welcome message, send your first message, and finalize some important settings.
-
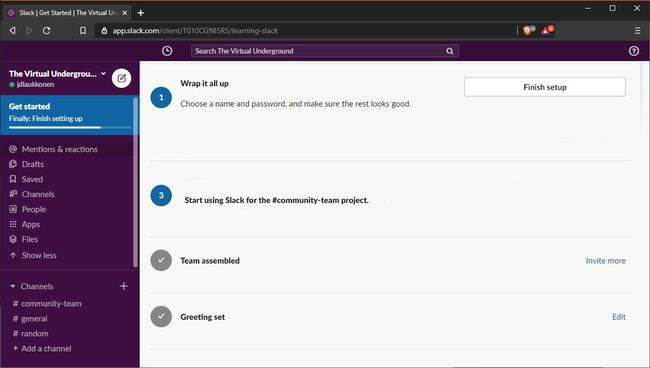
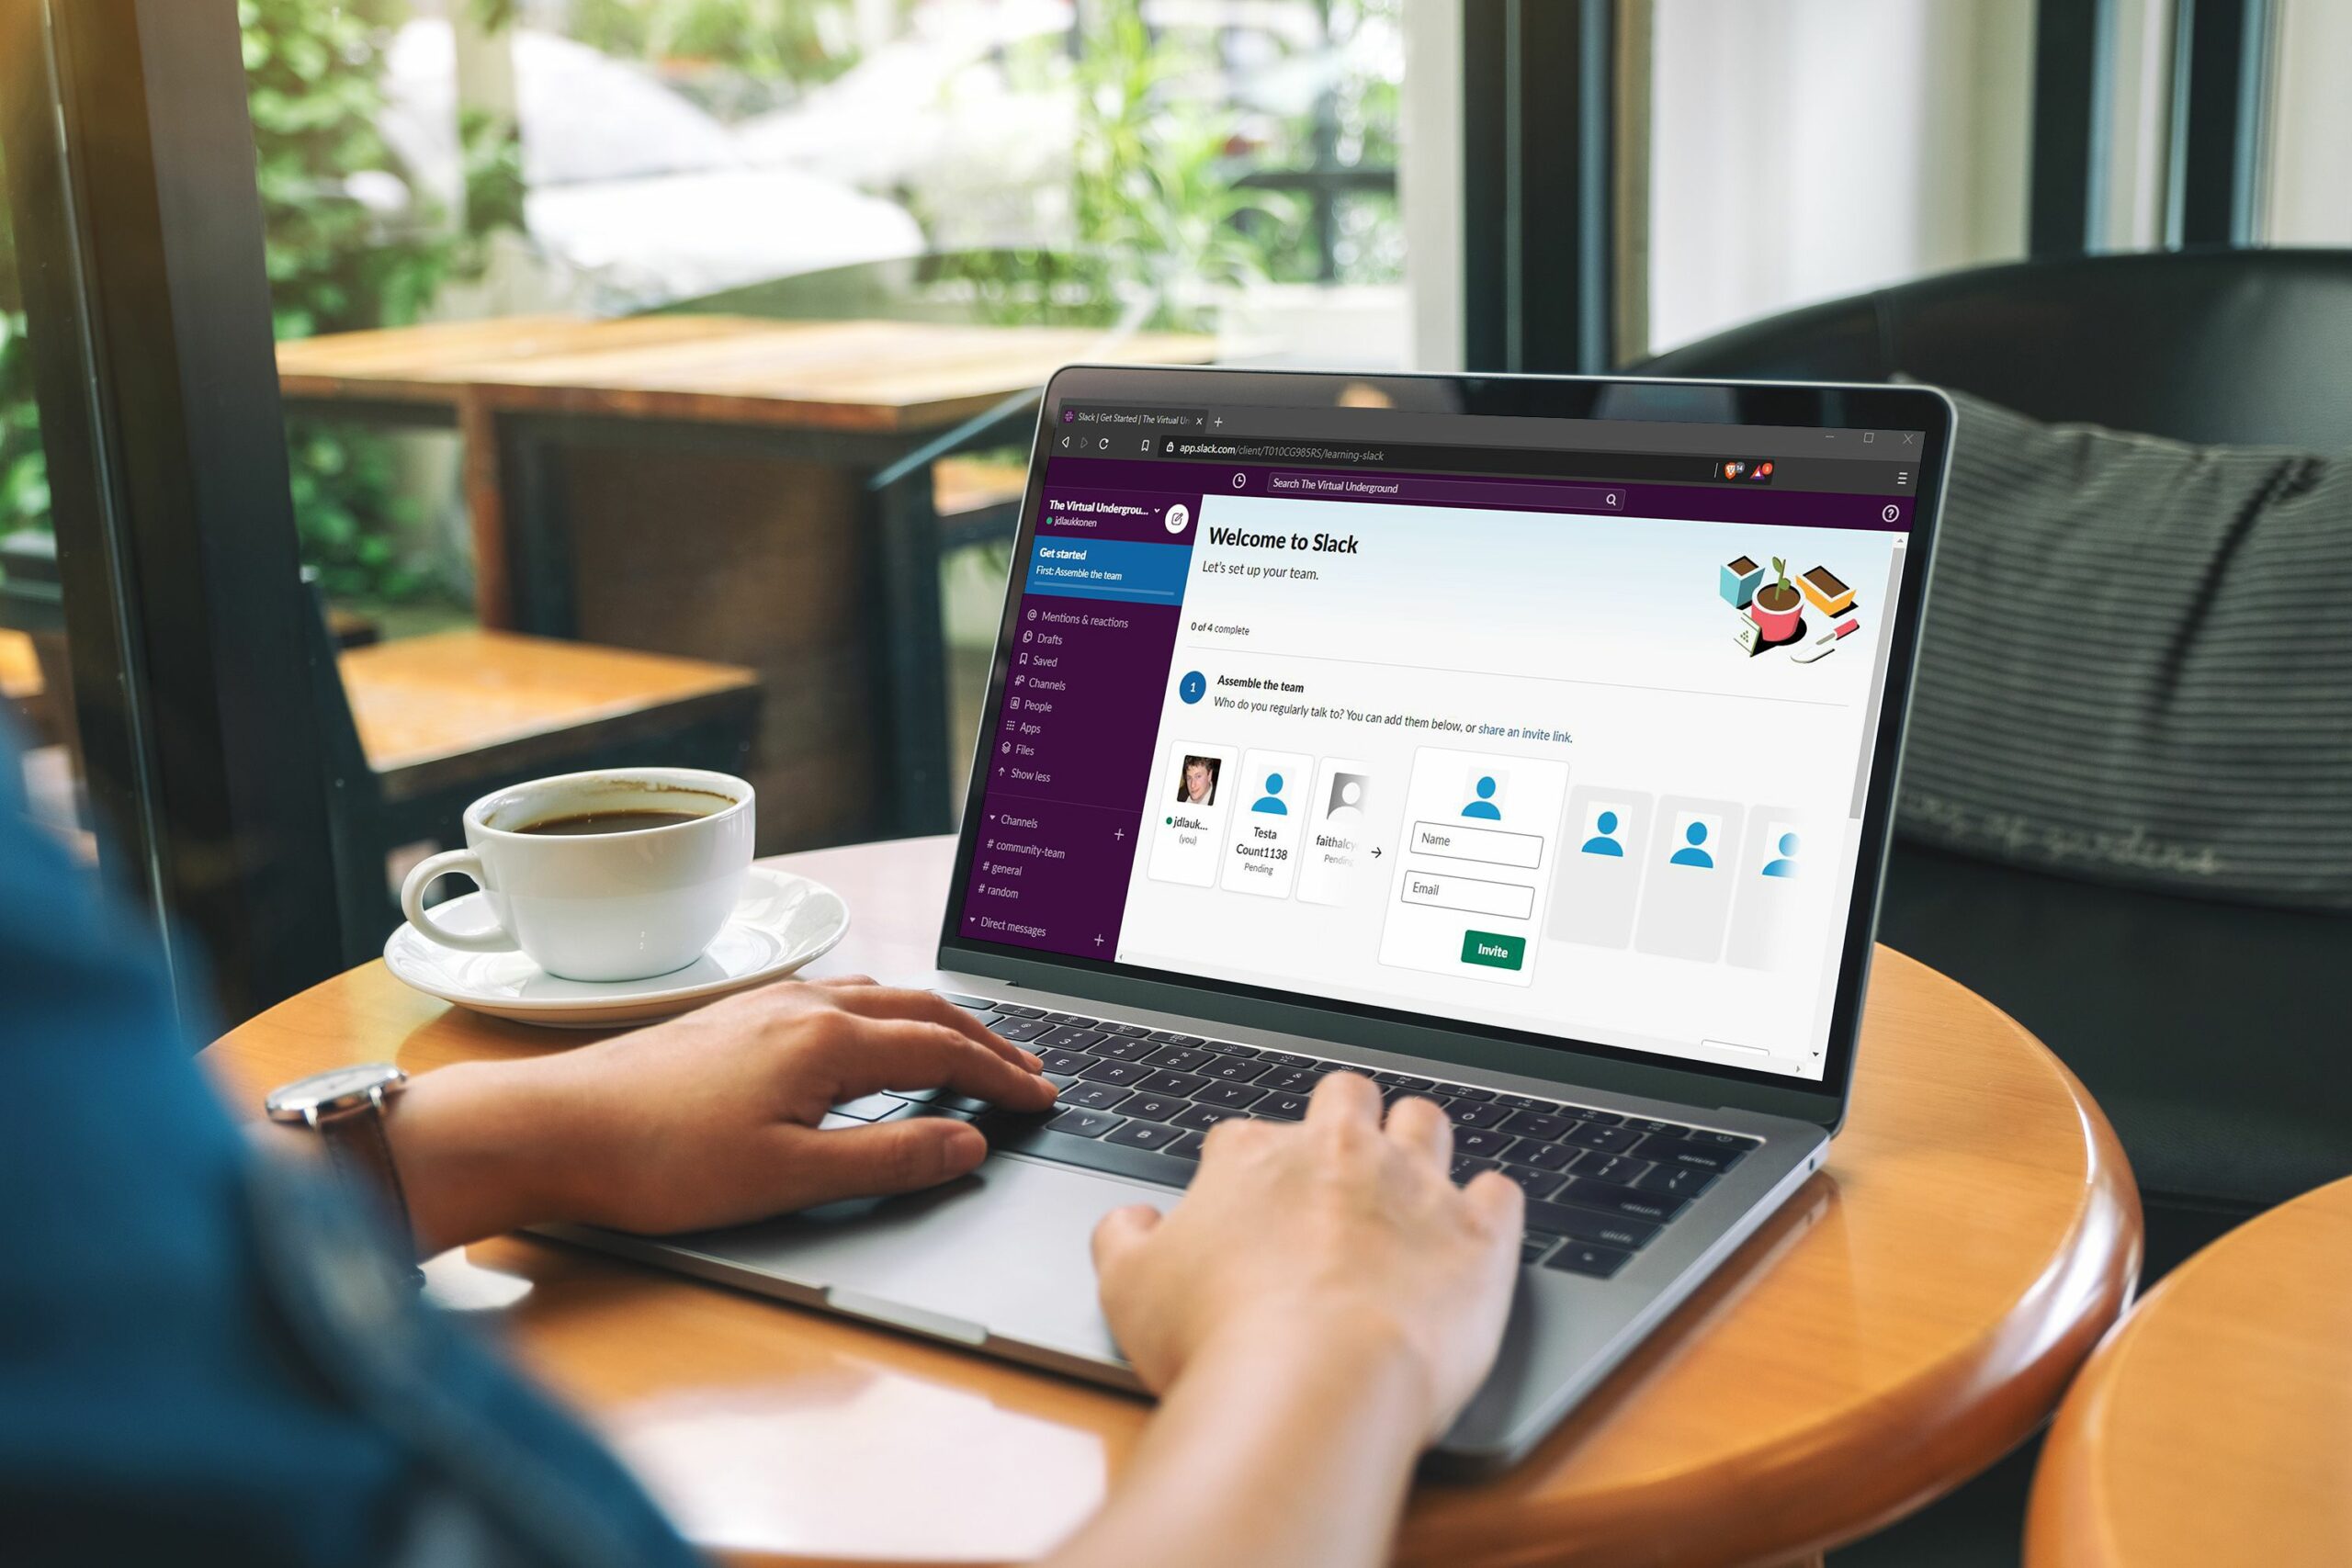
To invite additional members to your team, enter their name and email, then select Invite, or select Done and scroll down to complete the setup process.
-
Select Choose a greeting, then select a default greeting for your team.
-
Edit the greeting if you want to, then select Save.
-
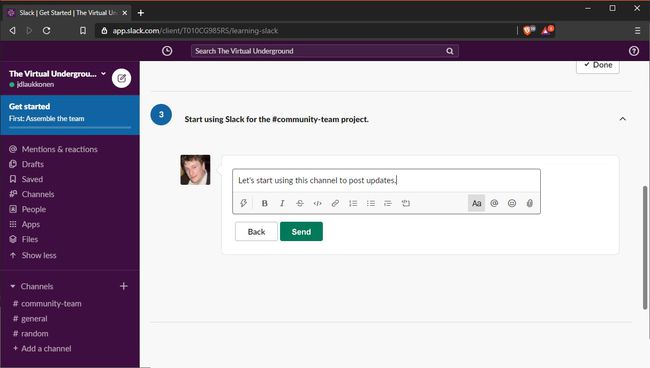
Select Start using Slack for the #your-channel-name project.

-
Enter your first message, then select Send. When your invitees start filtering in, this is one of the first things they’ll see.

-
Select Finish setup.
-
Enter your name, choose a password that you will use to access Slack, then select Next.
-
Change your workspace name or URL if you want, or just select Finish if you’re satisfied.
-
Your Slack workspace is ready, and your team is all set up. You can add more team members if you like, or just start using your workspace to coordinate with your team.
How to Create Channels and Add Users in Slack
You created one channel during the initial setup process, but additional channels can really help your team focus on specific projects. This is really useful if you have a large team, since you can restrict channels to just the people who really need the information, but it’s still a good idea to use this organizational tool even if you have a smaller team.
-
Select the + located to the right of the main Channels heading.
-
Select Create a channel in the drop down menu.
-
Enter a name and description for your channel, then select Create.
Select the Make private slider if you want to control who can join the channel. With this option off, anyone can read and add themselves to the channel. Private channels are noted with a lock icon to the left of their name in your Channels list. Open channels will have a hashtag in that spot.
-
Enter the names of the people you want in the group, and select Done, or select Skip for now to add people later.
To add people later, select the channel, then select Add People.
-
Your channel is now ready to use.
How to Send Direct Messages in Slack
In Slack, every message that isn’t sent within a channel is considered a direct message. You can send messages to anyone on your team, or create a group direct message with multiple team members to fill everyone in at the same time.
-
Select the name of the person you want to send a direct message.
-
Type your message into the text field, then press Enter.
-
To add emojis, select the smiley face below the text box, then select one or more emojis.
You can even create custom Slack emojis for your workspace.
-
To send a document, select the paperclip icon, then select a file from your computer.
-
Enter a description for your file, then select Upload.
When uploading a file to a direct message or channel, it will automatically be shared to the relevant users.
How to Send a Group Direct Message in Slack
Group direct messages are a lot like direct messages, but they allow you to talk to a specific set of people without creating a special channel. It’s faster and neater than making a channel, and ideal for situations where you need to provide some important information to specific team members or quickly collaborate on something that doesn’t really warrant a channel. You can also place voice and video calls through group direct messages.
-
Select the + next to the Direct messages section heading.
-
Select the people you want to add to the group direct message, then select Go.
-
The group direct message functions exactly like your one-on-one direct messages. You can return to this group direct message at any time by selecting it in the menu.
-
If you ever want to delete this group direct message, right-click it in the menu, then select Close conversation. You can also star it to highlight it or mute it to stop receiving email and push notifications.
How to Place Calls in Slack
Slack allows you to call your team members individually or in a group, and you have the option to use voice or video chat. This makes it really easy to make sure you’re always on the same page as your team, rapidly share ideas and confirm plans, and hold remote meetings without the need for any additional teleconferencing software.
-
To call a single team member, open your direct message with that team member, then select the Call icon.
-
The call will open in another window and connect as soon as the other person answers.
Use the icons at the bottom of the call to mute your mic, toggle your video on and off, share your screen, send emoji reactions, and hang up, from left to right. The gear icon in the upper left provides an Options menu, and the silhouette with the + icon allows you to add people to the call.
-
To place a group call, open a channel or group direct message, then select the call icon.
Group calling is a premium feature that is not available in the free Slack plan.
How to Hide Channels and Direct Messages With No New Messages
As your workspace grows, you may find that it ends up cluttered with a lot of channels and conversations that aren’t always used. Alternately, you may find that you have a difficult time figuring out which channels still have unread messages. In both of these situations, your best option is to hide channels and direct messages that don’t have any new messages.
-
Select your workspace name in the upper left corner of the page.
-
Select preferences.
-
Select Sidebar.
-
Select the radial next to unread conversations only, or unread conversations plus your starred section.
-
If you prefer to mute just a single channel or conversation at a time, just right-click that channel, then select mute channel.
Slack Privacy Settings
If you’re using Slack for business purposes, it’s a good idea to avoid saying anything you wouldn’t normally say in the office in front of your boss. That isn’t because your boss can use Slack to snoop on you, but there is a chance that the head of your workspace might be able to export your direct messages and read them.
To check whether or not this is an option on your workspace, log into Slack, navigate to slack.com/account/team, then select Retentions and Exports. If you see the following message, you’re secure:
If admins also have access to your direct messages, the message will read like this:
Workspace Owners can export messages and files from public channels. Workspace Owners can also export messages and files from private channels and direct messages.
If you see that message, you’ll want to set your direct messages to expire instead of just leaving them around. To do that, select the gear icon in the upper right corner when you’re in a direct message, then select edit message retention > Next > Use custom retention settings for this conversation. Set it to one day, then select Save.
Workspace retention settings are only available if your organization has a paid plan.
Prevent Outside Sites From Seeing Your Traffic
If you or your team members ever link to outside websites, they will be able to see the full web address of your Slack workspace in the referral. If you want to prevent this from happening, log in to Slack and then navigate to slack.com/admin/settings.
Scroll down and locate Hide your workspace URL form external sites’ logs, then select Expand. Remove the check mark from the box, then select Save.
If you have a paid plan, as the administrator, you can also adjust global message and file retention and deletion settings from this page.
What Are Slack Integrations?
By now, you have a pretty good understanding of how to set up and use Slack, including some basic privacy settings. If you want to greatly extend the functionality of Slack, you can integrate a wide variety of third-party apps like Google Drive and Calendar, Twitter, GitHub, and more.
If you want to add some Slack integrations, here’s how to do it:
-
Select Apps in the main Slack menu on the left side of the screen.
-
Locate an app you want to integrate with Slack, then select Add.
-
Select Add to Slack.
-
Continue with the on-screen prompts. In this case, select Add Twitter Integration.
-
If requested, authorize Slack to access your account with the app you are trying to integrate.
-
Adjust the settings to your liking, then select Save Settings. The app is now integrated with your Slack workspace.
Slack Notifications, Themes, and Other Preferences
Slack makes it easy to adjust a variety of user preferences, including when you receive notifications, themes, and more. To access these powerful settings, select your workspace name in the upper left corner, then select Preferences.
Notifications
The Slack notification preferences menu gives you some important options, like the ability to enable desktop notifications. Select Enable Desktop Notifications and you will receive a pop up notification on your computer whenever you receive a message on Slack. You can also choose what type of messages cause desktop notifications to pop up.
The Keywords box allows you to enter specific important terms that you want to keep a look out for. Any time someone uses one of those keywords in a channel you have access to, you’ll be able to easily find the important conversation.
If you don’t want to receive any notifications during your off hours, you can use the Do Not Disturb settings to automatically switch off your notifications during a specific time.
Notification options also allow you to choose how desktop push notifications appear, and whether or not to send a ping to your mobile device via the Slack app if you aren’t at your desktop.
Theme
If you want to adjust your Slack theme, just select Themes or Messages & media in the preferences menu. Selecting Themes opens a basic menu that allows you to choose between Slack’s dark and light themes. If your eyes have trouble with bright, white websites, the dark theme is great.
Continue scrolling, and you’ll find that Slack has a number of other themes that switch up the way the app looks and feels. You can also customize your theme and share it with others if you’re feeling creative.
Messages & Media
Select Messages & media, and you’ll have even greater control over the way different elements of the site are rendered. These options allow you to choose whether user icons are displayed, how messages appear, whether full or display names are shown, and more.
Slack Communication Tools
Paid Slack teams can use advanced communication tools like Slack Huddles. Huddles are audio conversations that anyone in a channel can join. You can also start a huddle from a direct message and even share your screen with other participants.
Paid plans also support video and voice recordings. All recordings uploaded to Slack come with a transcript, which can be saved in a searchable archive. Recordings can be scheduled to go public at a specific time.
If your team has a Slack Business+ or Enterprise Grid plan, you can take advantage of Slack Atlas, which creates detailed profiles to give users a better understanding of your organization’s structure. This feature integrates with tools like Workday so that you can automatically keep all information up to date.
